In order to use Zoom to create a video, according to the format suggested by the ASA 2024 Educational Committee, please follow the steps below. If you have any questions on any step of the process, please contact us at [email protected].
 Step 1. Download and Install Zoom
To download the Zoom application, go to https://zoom.us/download.
and from the Download Center, click on the Download button under “Zoom Client For Meetings”.
Once the download is complete, proceed with installing the Zoom application onto your computer (as shown in the short GIF, on the left).
Note: To be able to create the video for ASA 2024, you will need to simulate a Zoom meeting, share your screen and record yourself presenting your work (going through the presentation slides). The next steps will help you with this process.
 Step 2. Set up a Zoom meeting
To sign in, use your Zoom, Google, or Facebook account. If you don't have an account, click Sign Up Free. If you have a Zoom account but cannot remember your password, click Forgot.
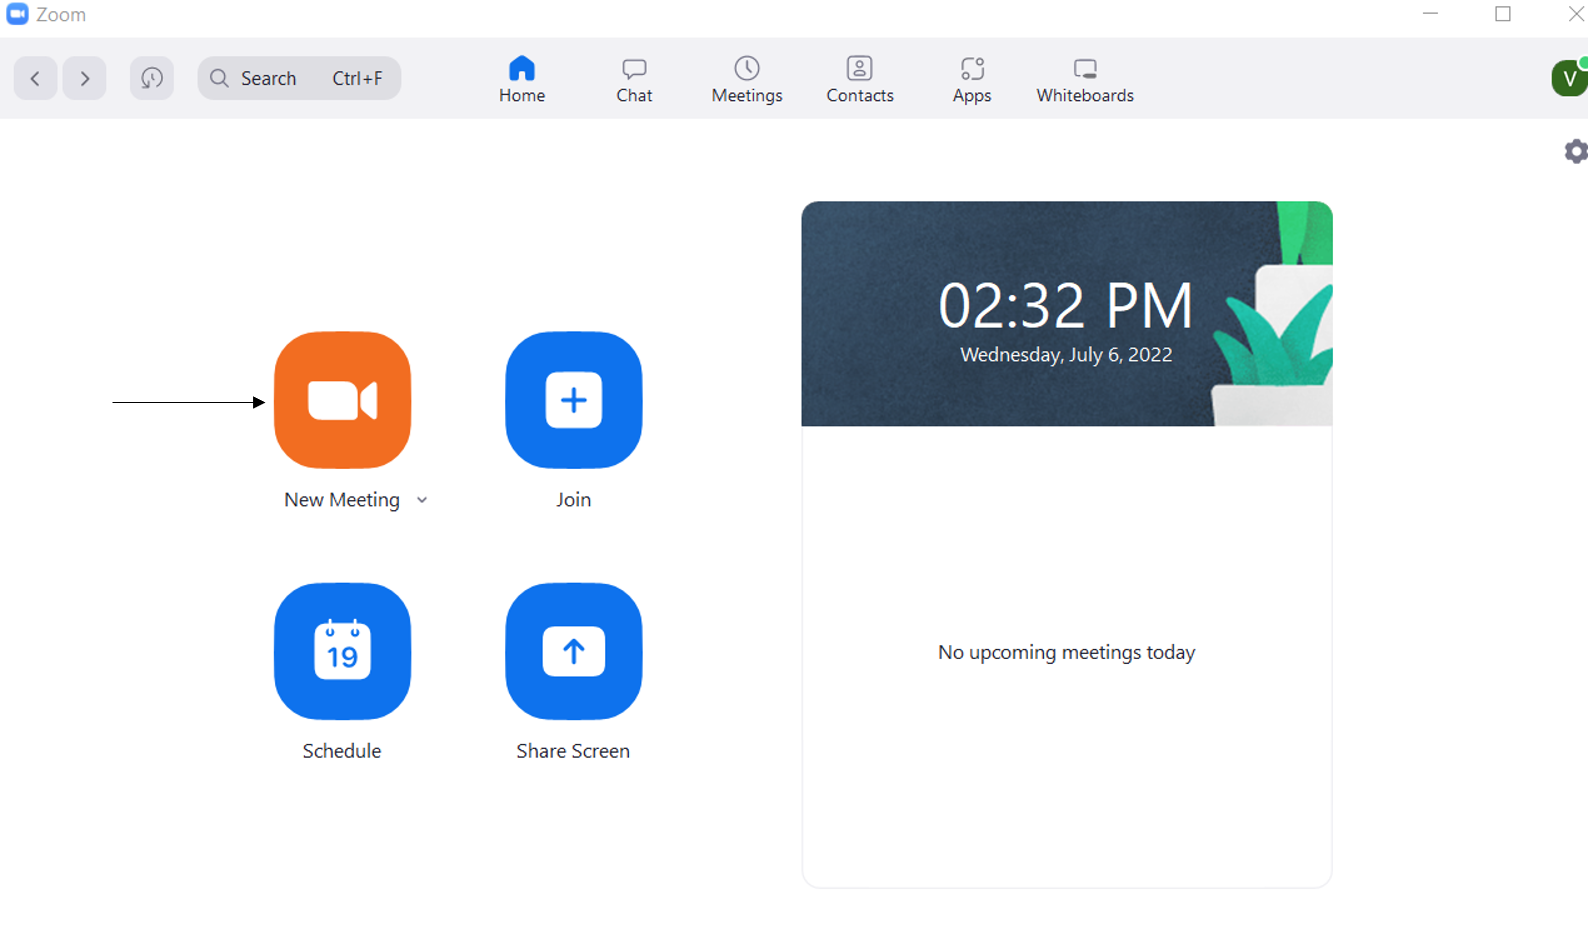
When you start Zoom, you’ll be offered a few different options (as shown on the left). Select the orange “New Meeting” icon to start a new meeting. Once selected, you’ll now be in the Zoom Meeting.
 Step 3. Join with computer audio and make sure your video is on
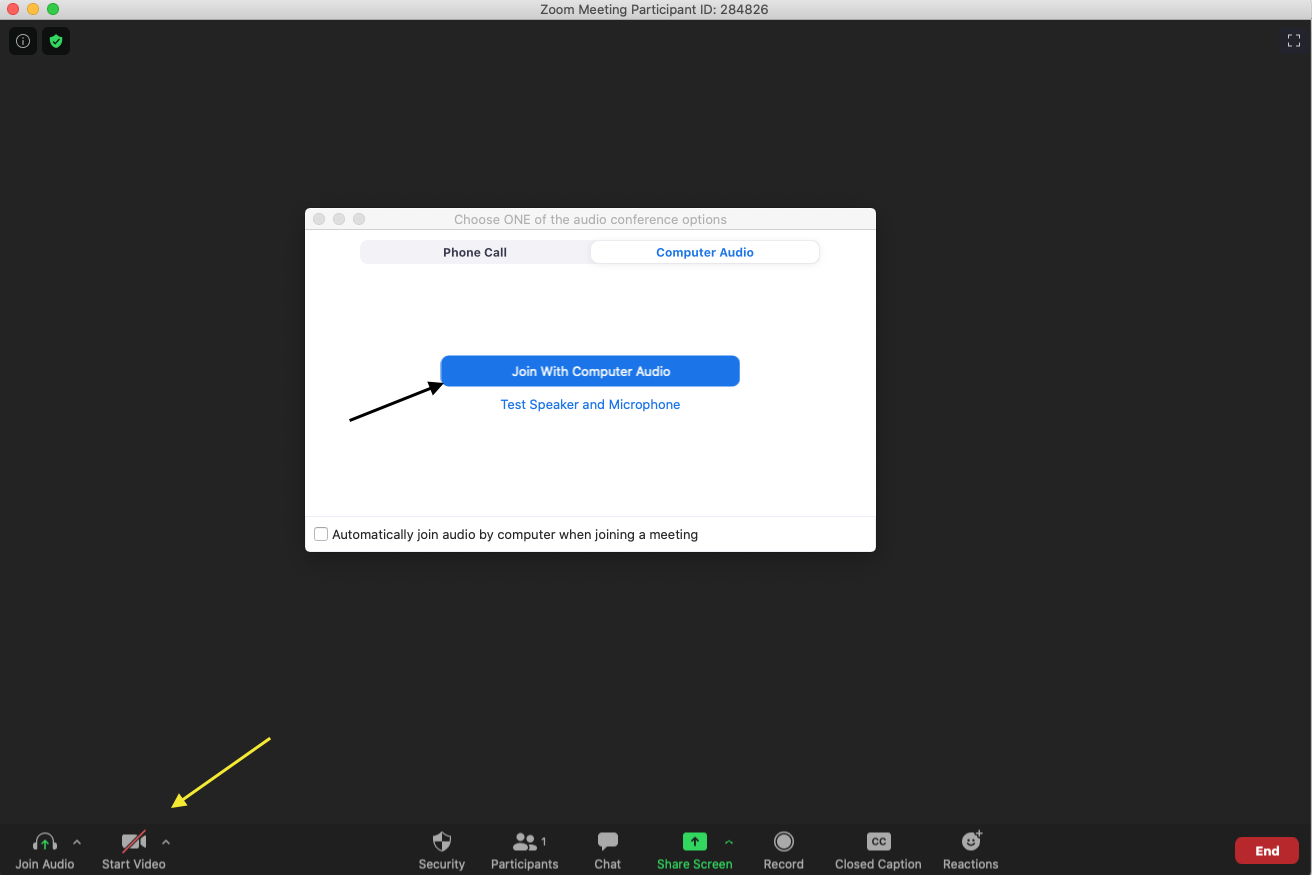
As soon as the Zoom meeting starts, you should select the "Join with computer audio" option (black arrow) and also make sure the video is on (bottom left of the screen - yellow arrow).
 Step 4. Share your screen
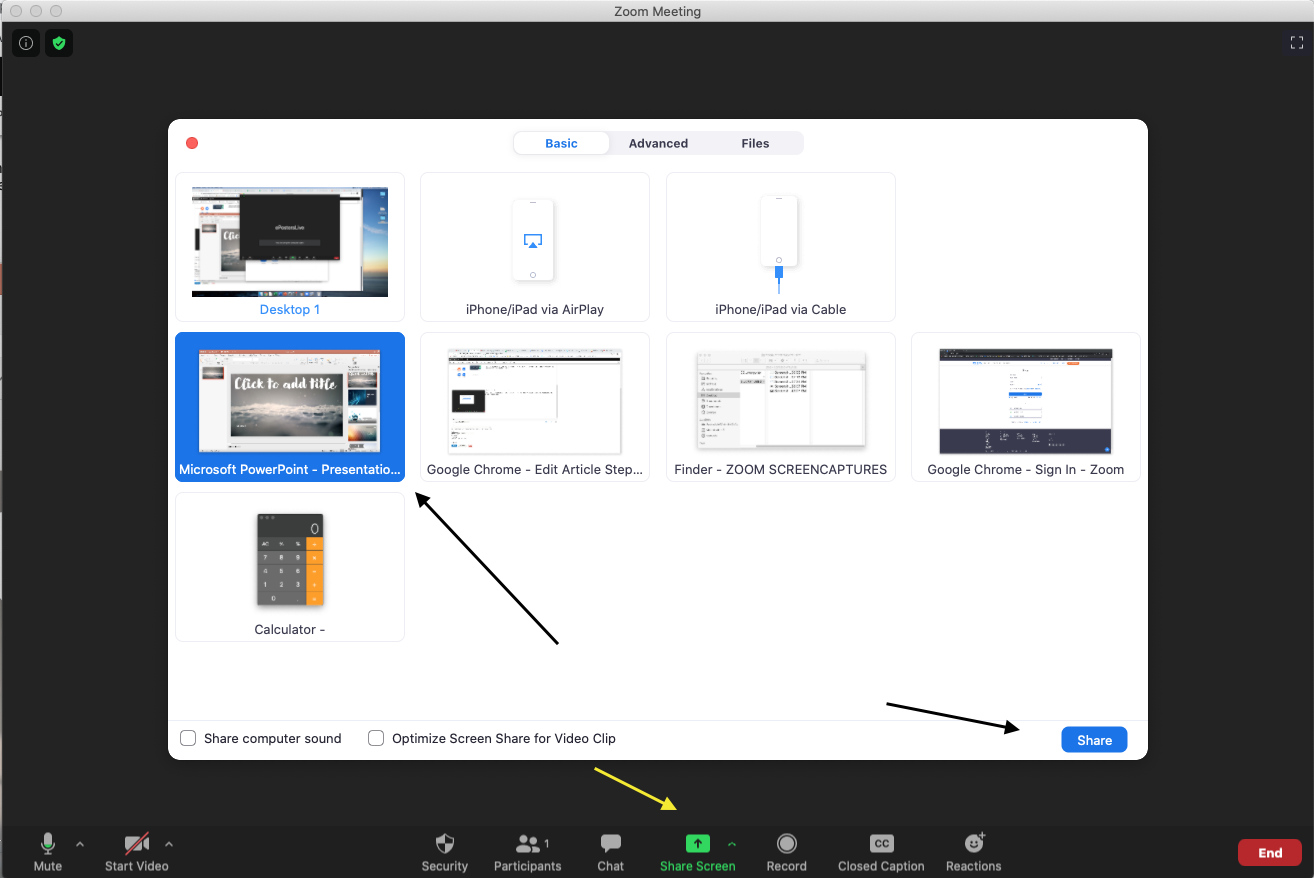
Open the presentation you have prepared for the ASA 2024 Annual Meeting (for example, if you have used PowerPoint to create your presentation, please open your PowerPoint presentation). Share your screen by clicking the button on the middle bottom of the screen (yellow arrow) and select the application you wish to share (in this example, PowerPoint - long black arrow). Then click "Share" at the bottom right of the screen (short black arrow).
Note: As soon as you share your screen, you may want to use the Full-screen mode for the software screen you are sharing (in this example: maximize the PowerPoint window).
 Step 5. Prepare to record your video
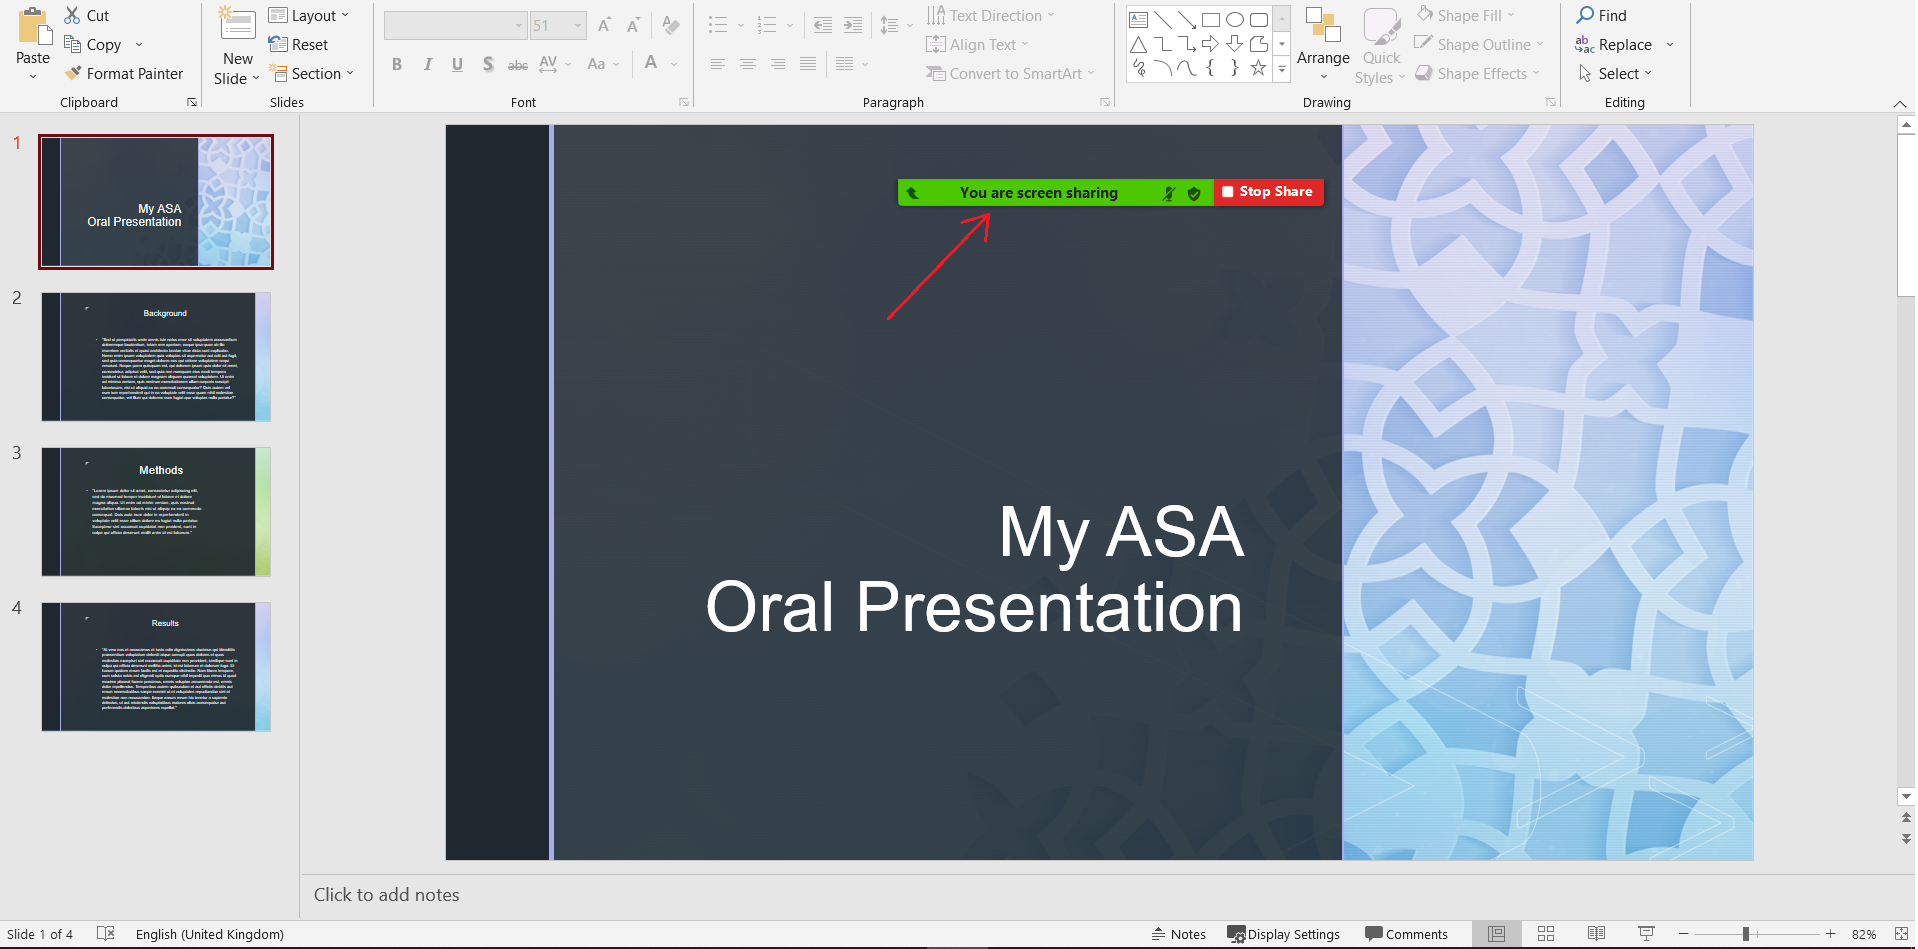
Moving your mouse over the screen-share pop-up bar will show the Zoom bar (red arrow).
 Step 6. Record your video
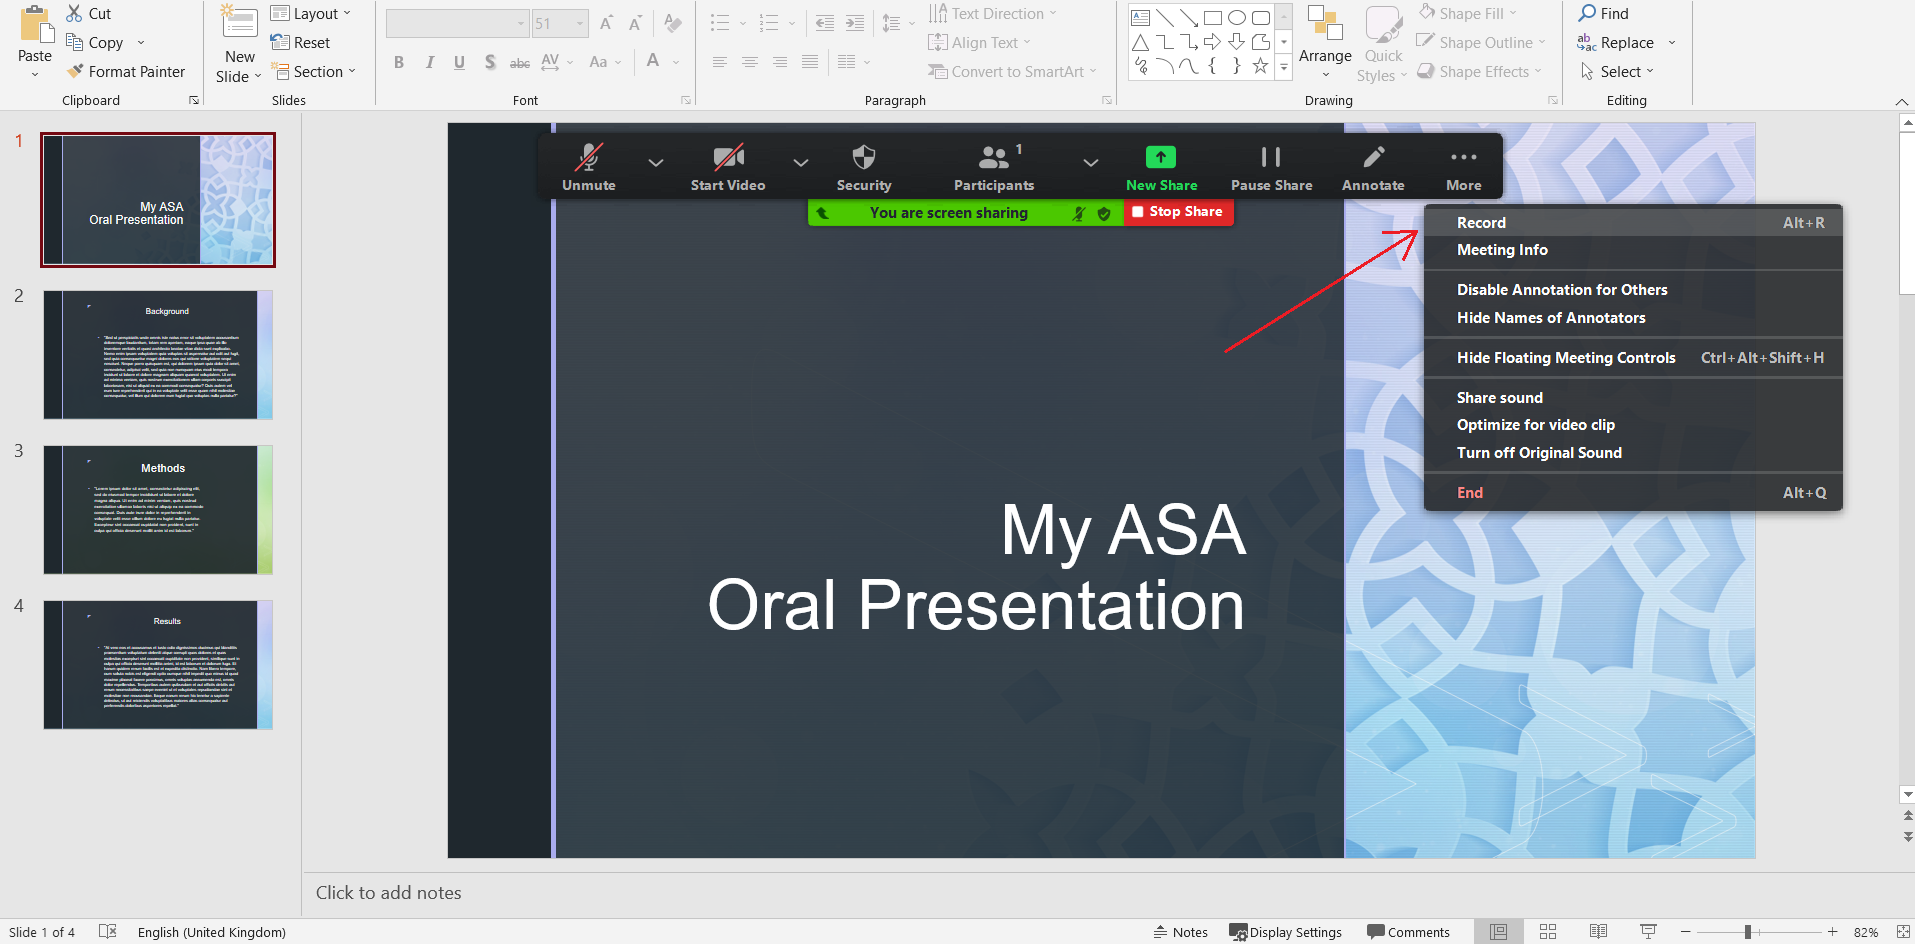
Click "More", and as soon as you are ready to start presenting, select "Record" (red arrow). Once you are done, click on "More" -> "Stop Recording".
 Step 7. End the Zoom meeting
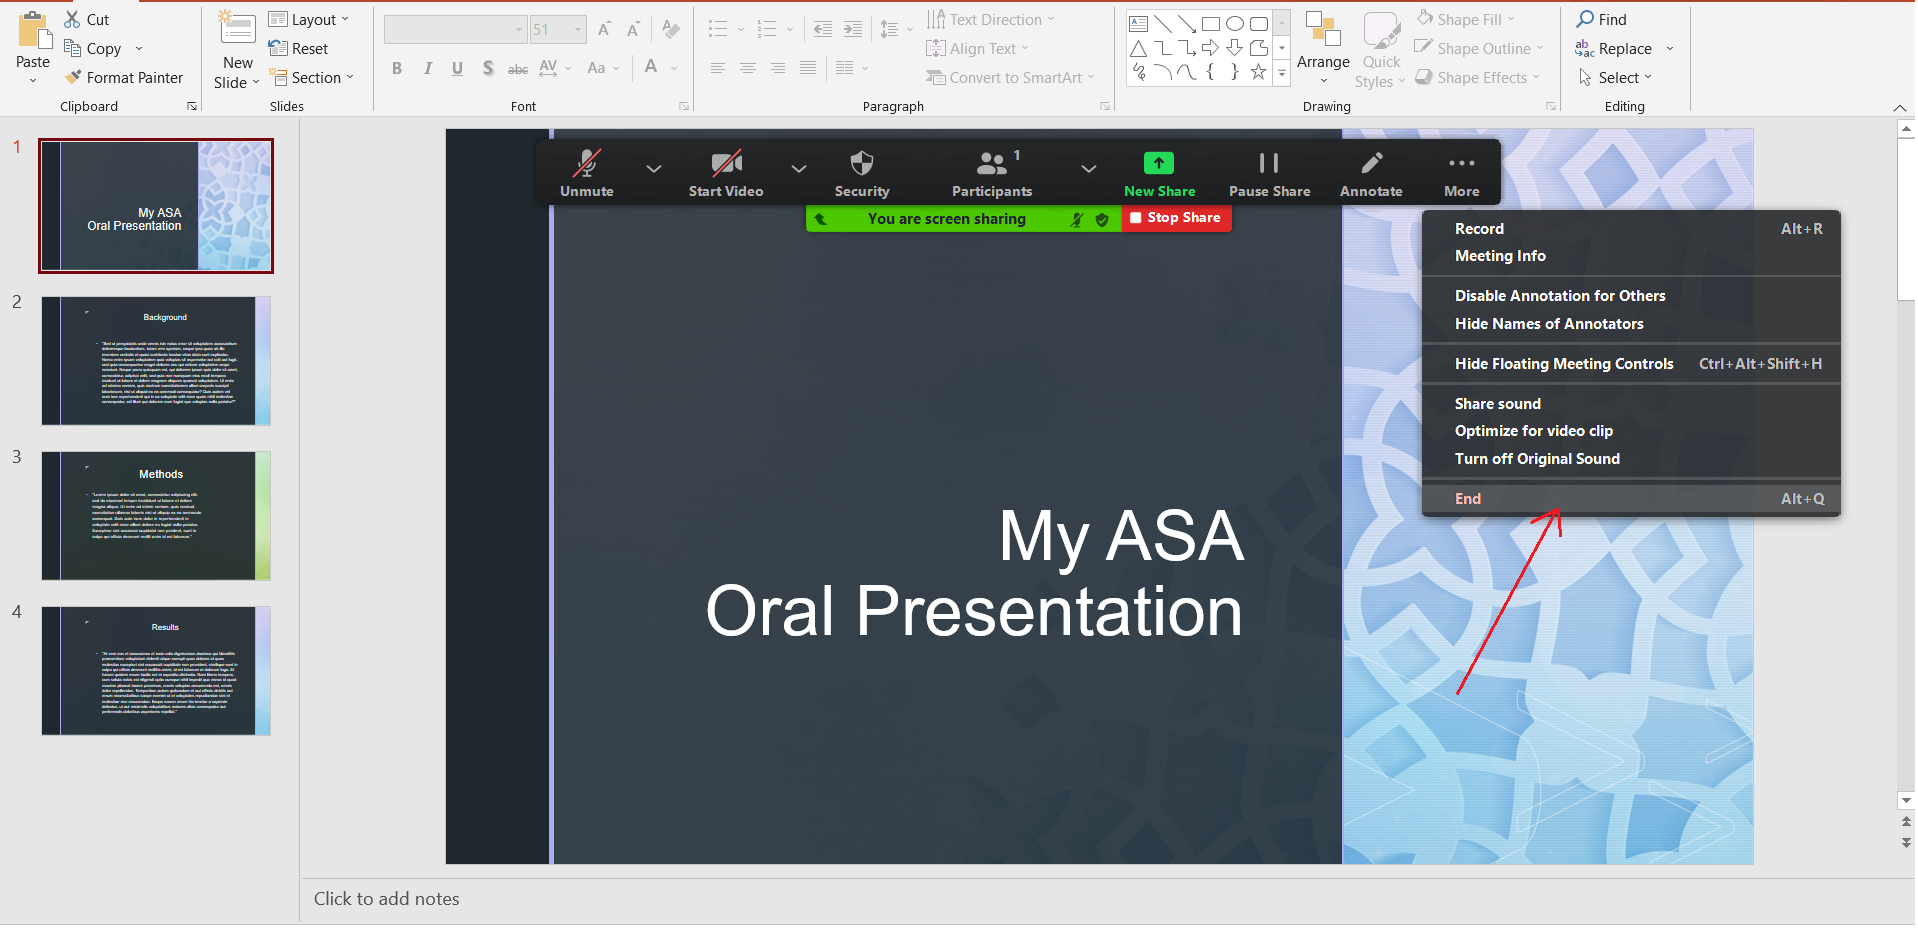
It is now time to end the Zoom meeting and check the file you created. Click on the "End Meeting" option and then choose "End Meeting for All".
Right after you end the meeting, a folder with the recorded .mp4 video file will open.
Our recommendation
Although you have read the step-by-step guide on how to create your ASA 2024 video file, you are strongly recommended to watch the video below, with highlights on the most important steps of the process.
If you have any questions, please feel more than welcome to contact us at [email protected].